Collin Cameron

Collin Cameron

Developer, designer, and creative generalist studying Computer Science at UC Berkeley. Check out my GitHub or LinkedIn, or explore some of my projects below.

Lovat

In FIRST Robotics Competition, it’s common practice to “scout” other teams by watching their robots play and recording data about their performance.

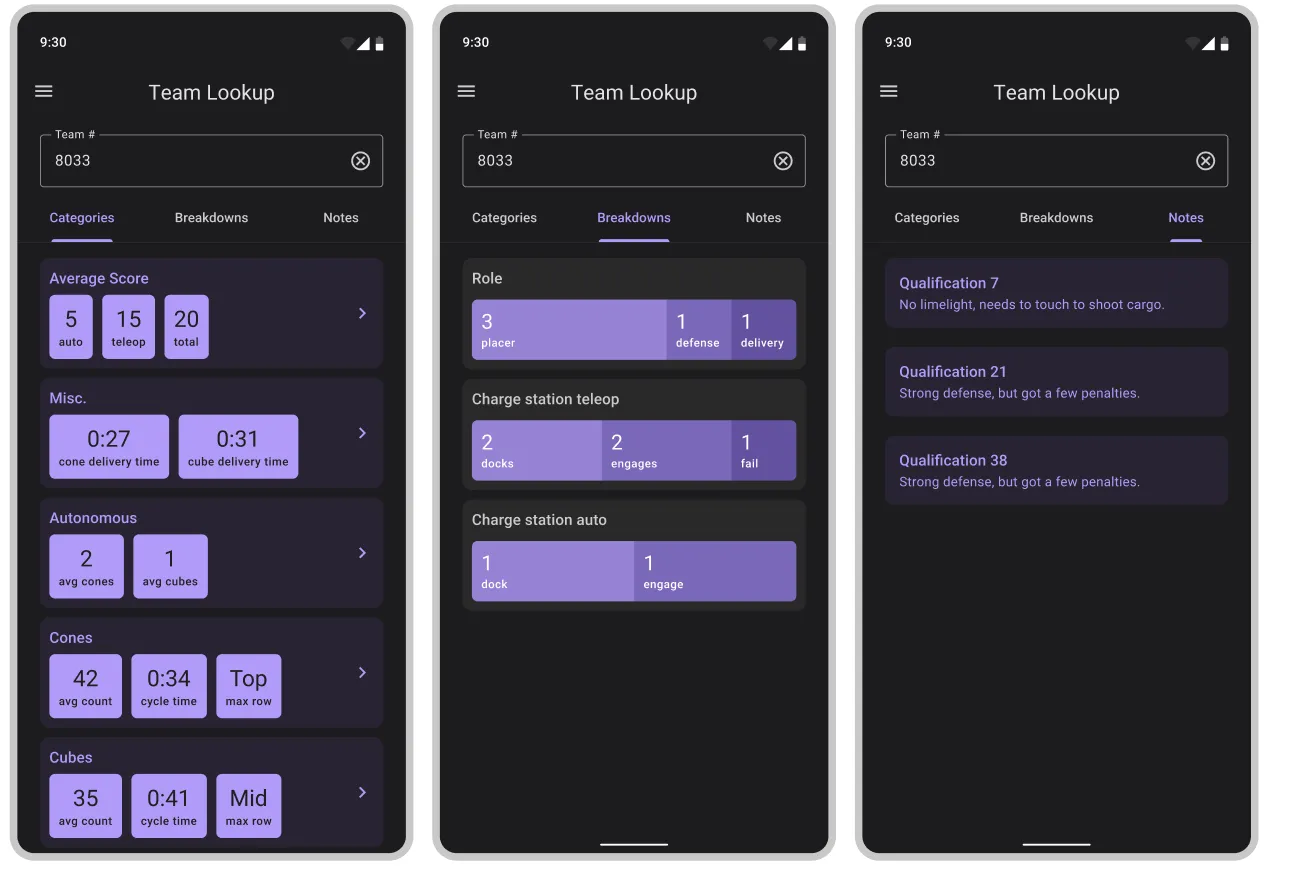
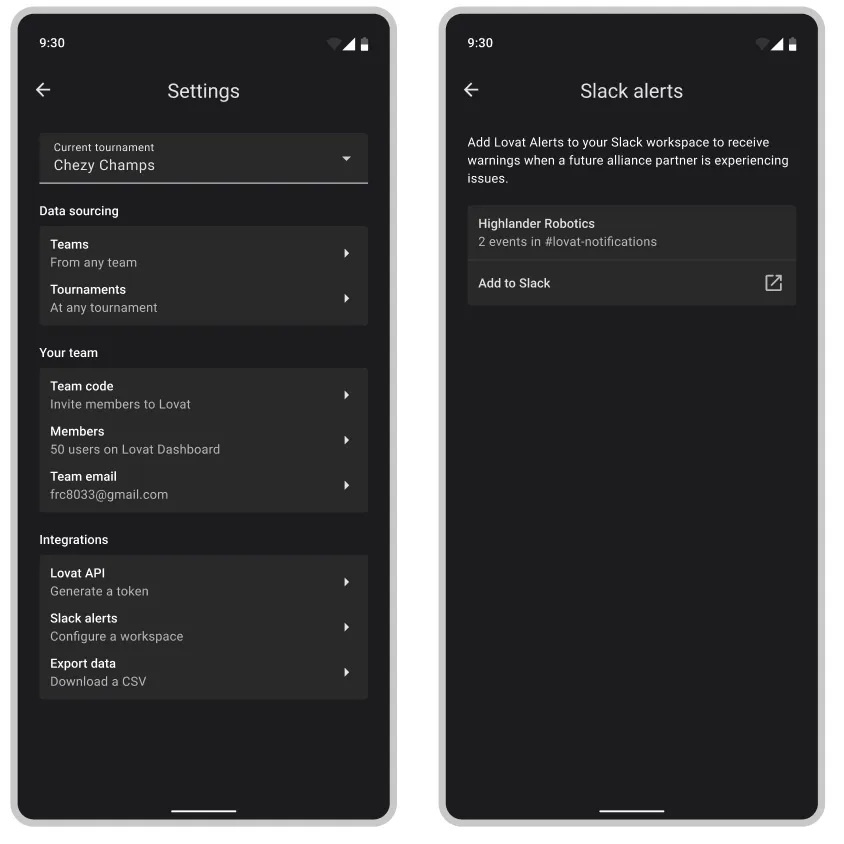
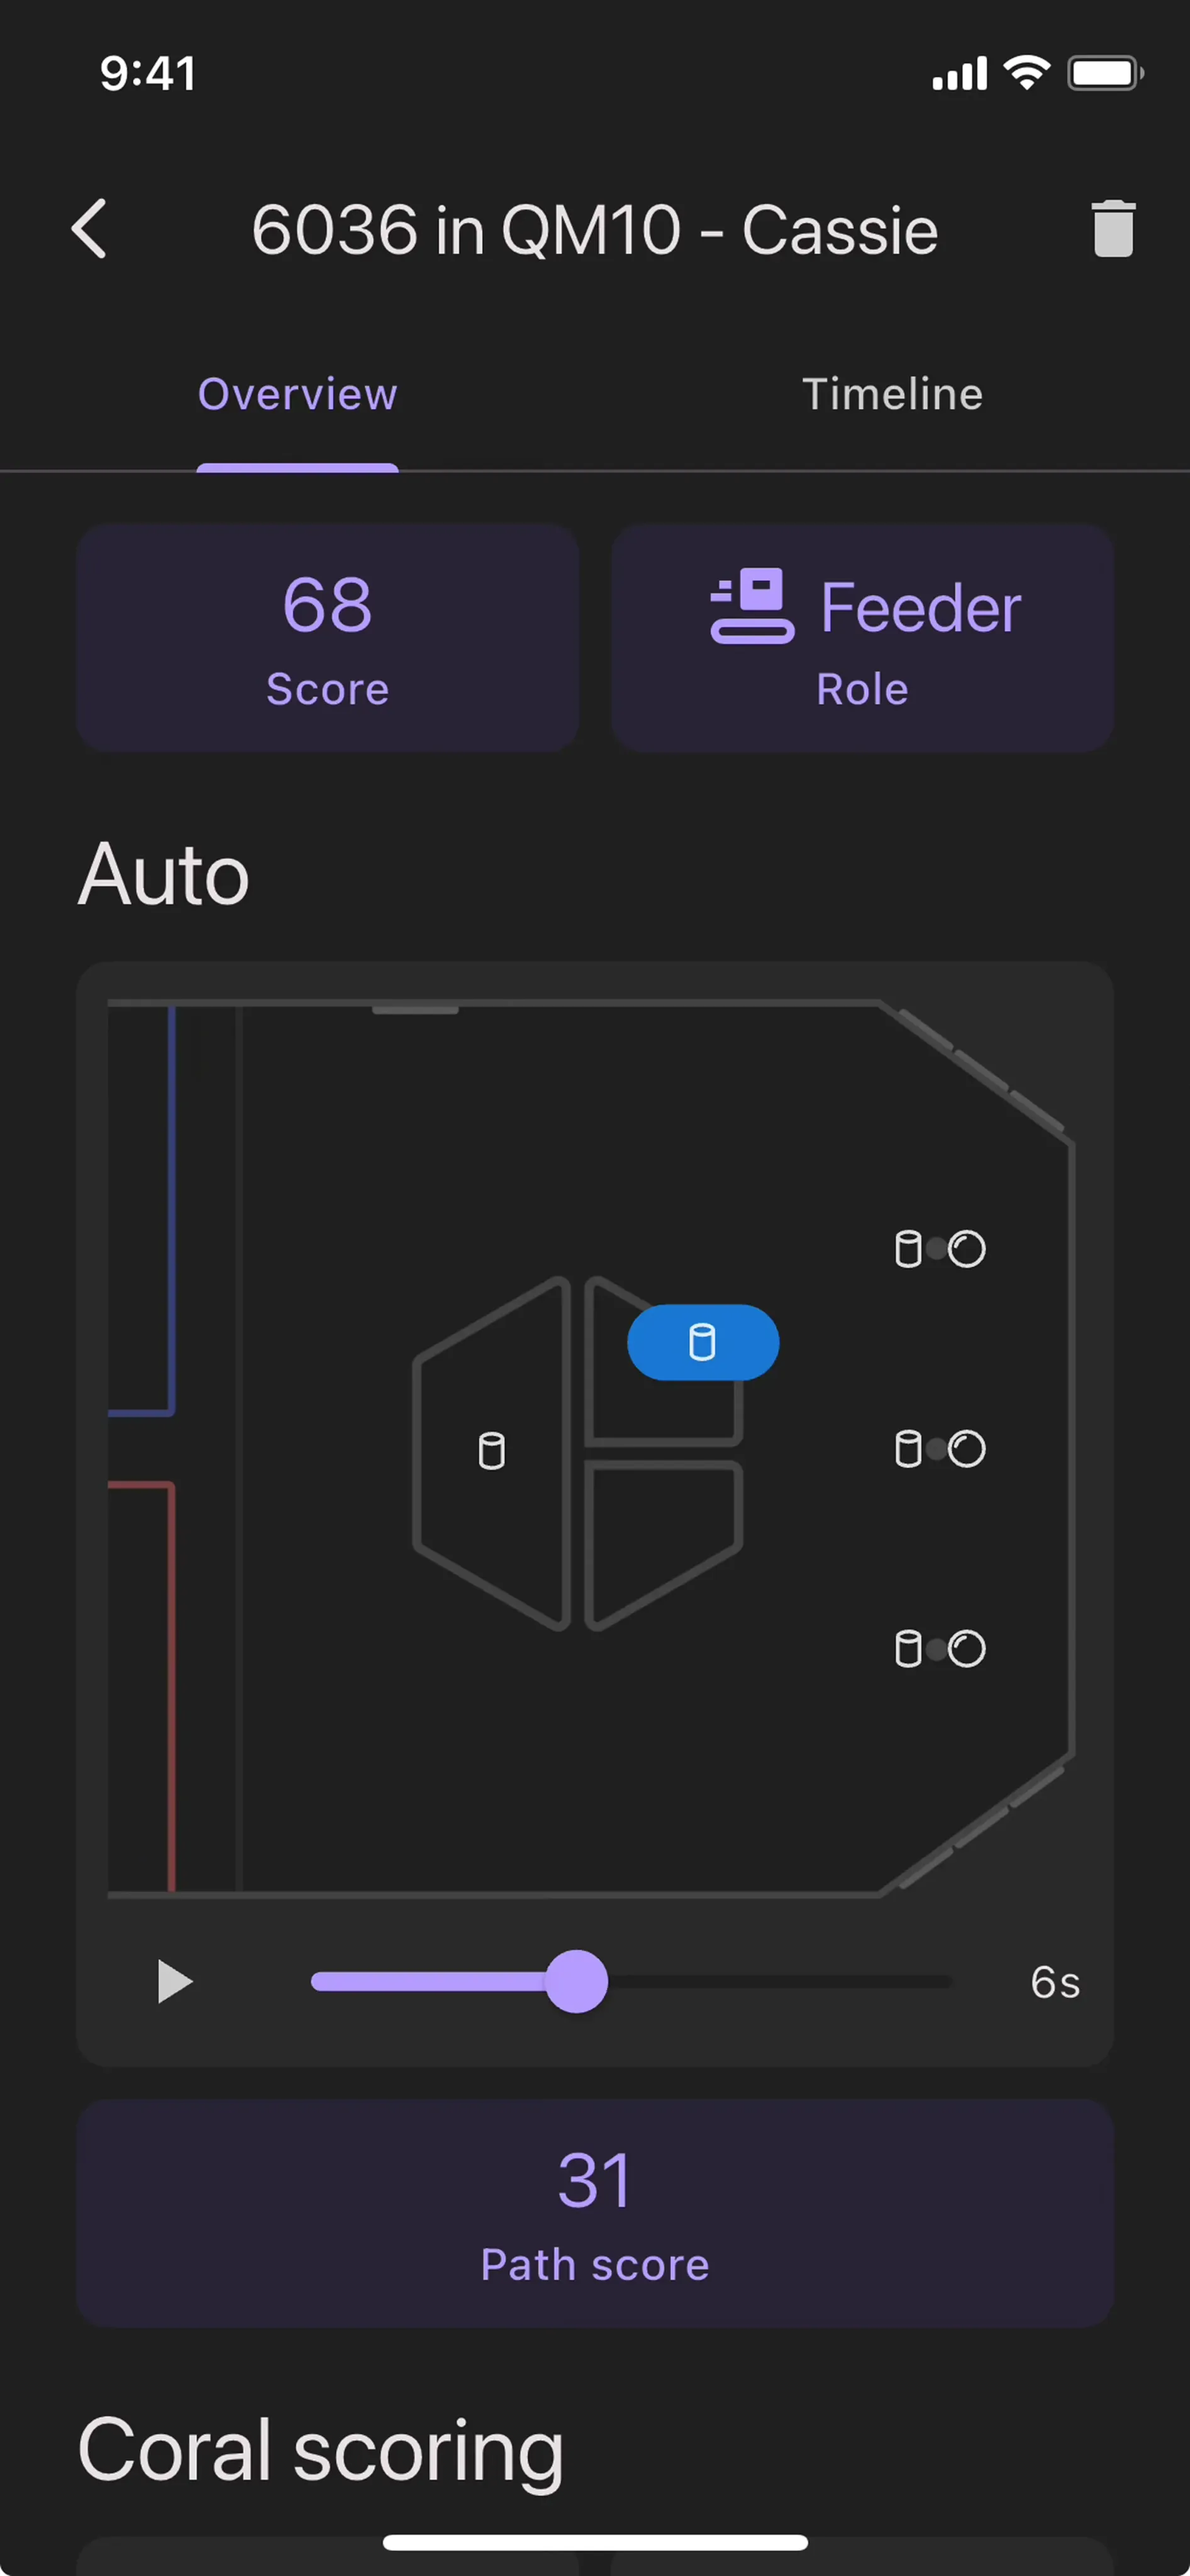
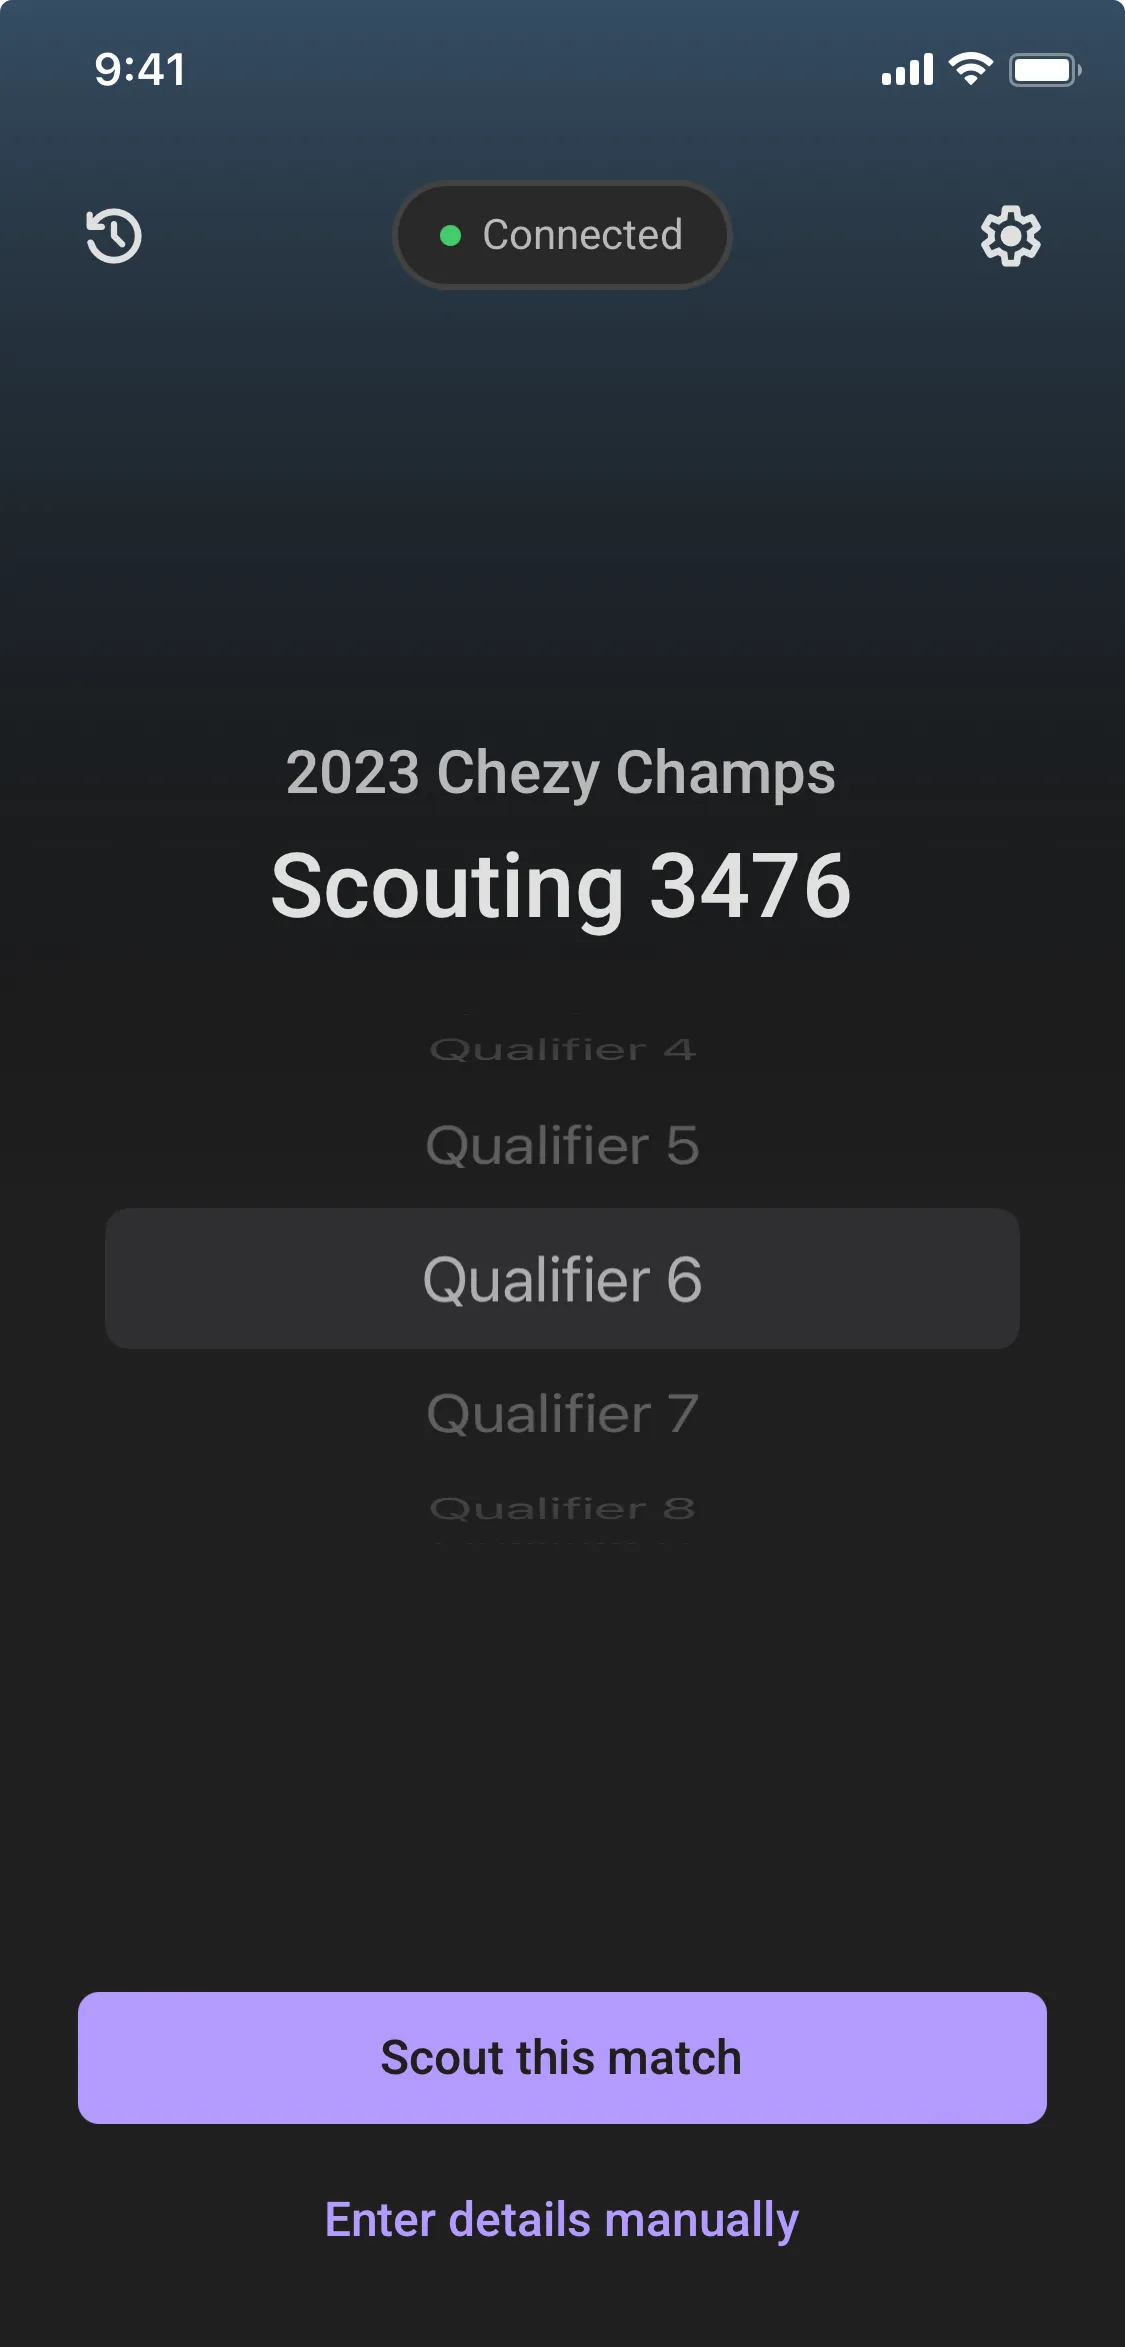
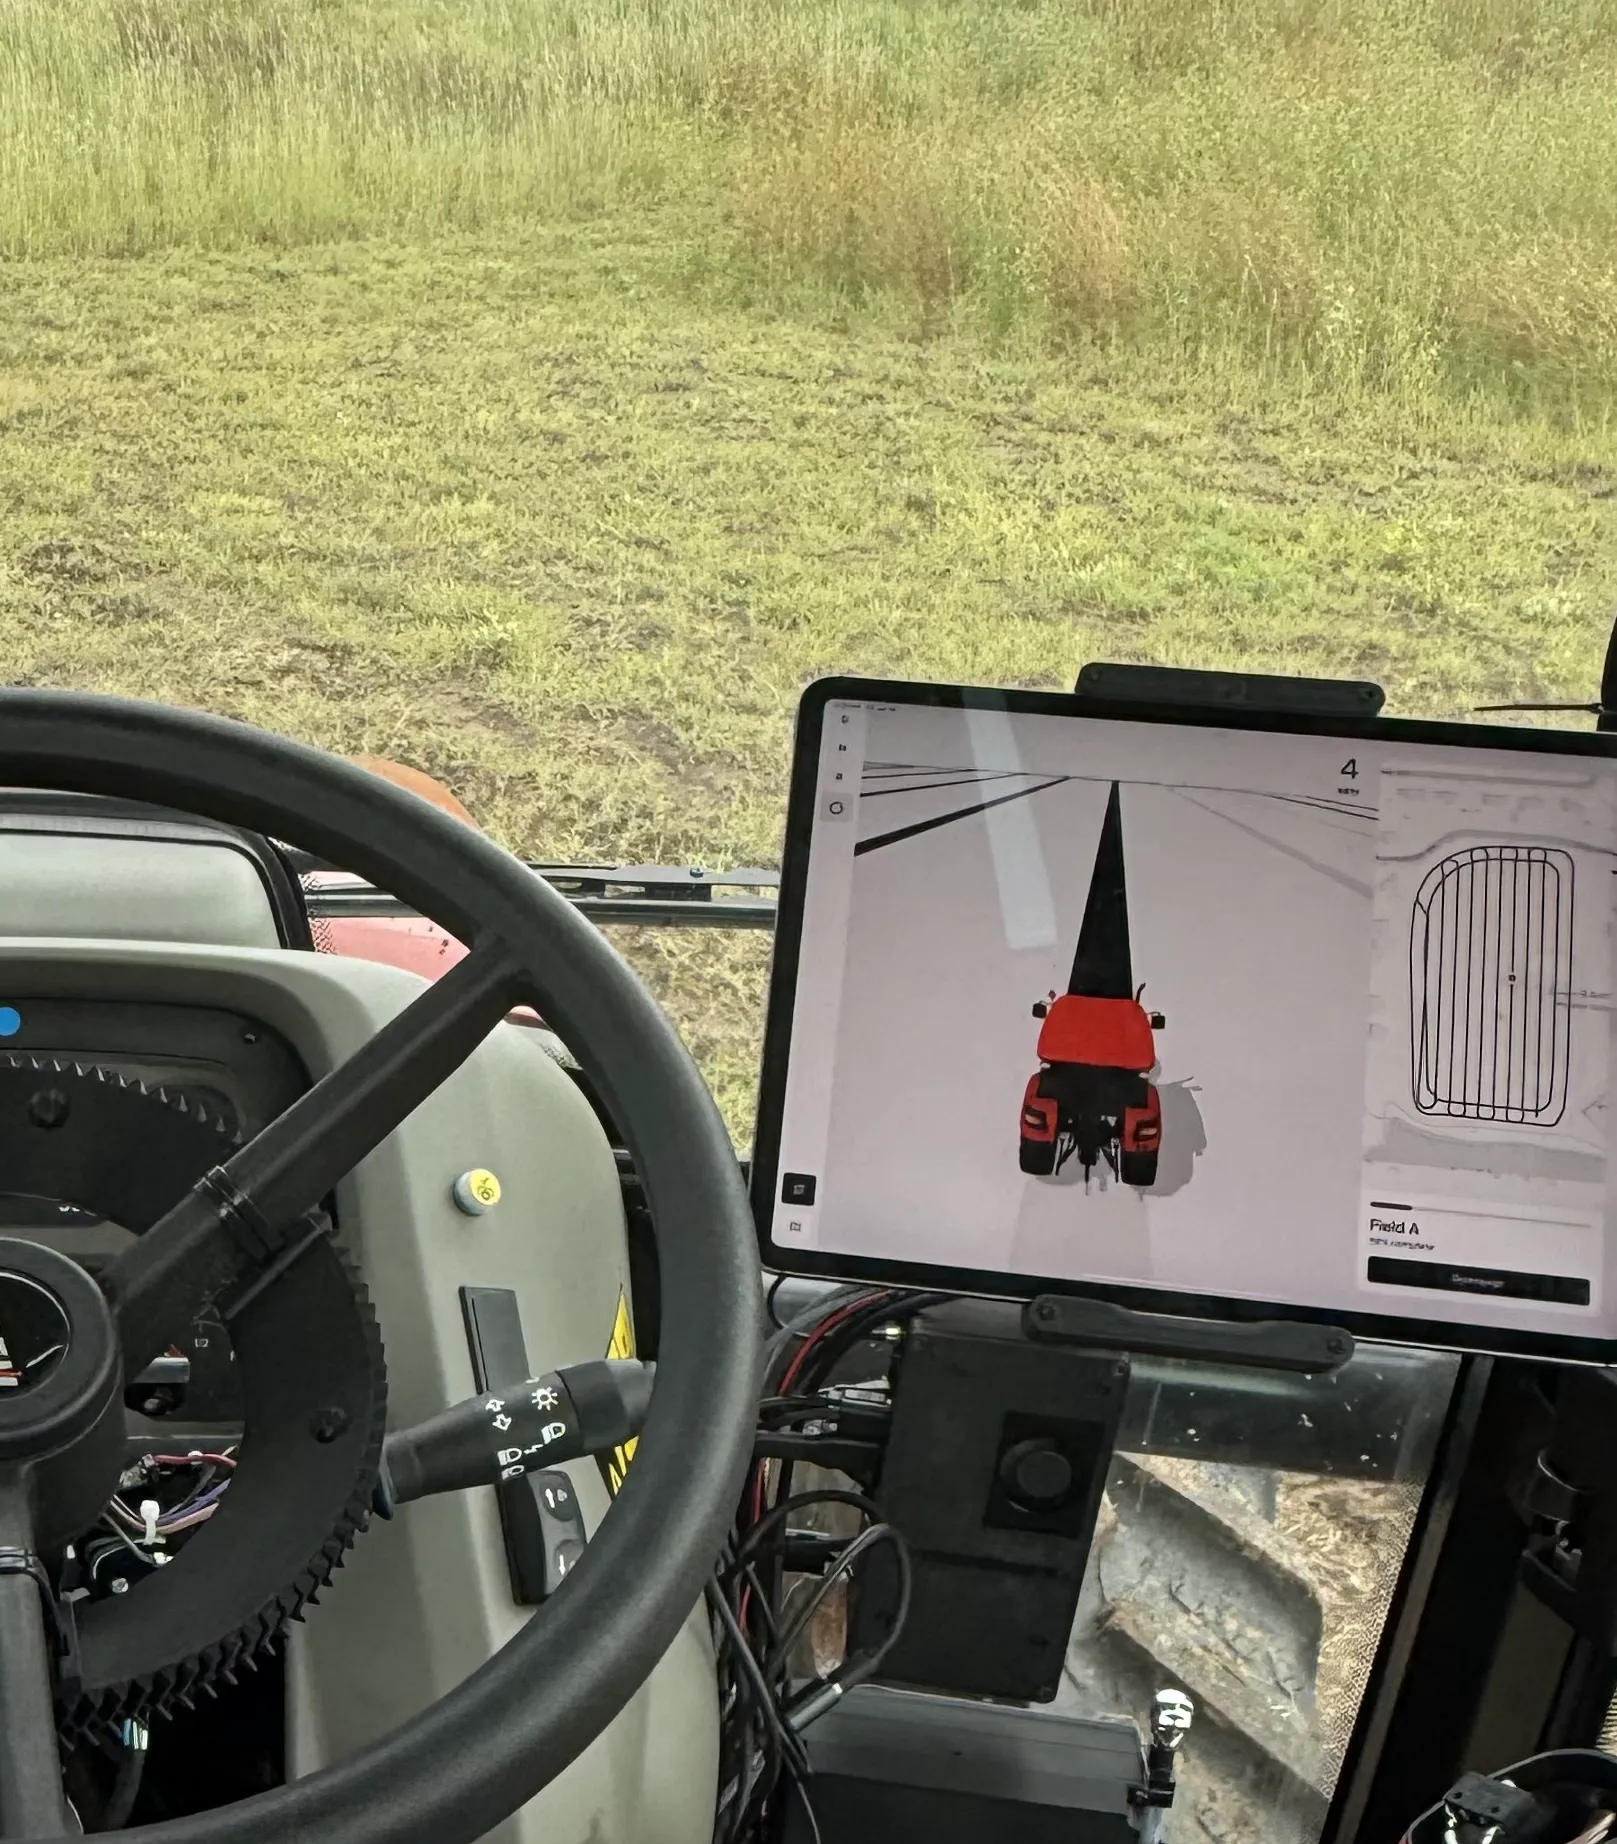
Lovat is an FRC scouting system I’ve been working on for all four years of high school alongside a rotating, very talented cast of teammates. The idea started at my first competition and after a year of internal use, it was published for other teams to use. There are two apps in the system: Dashboard, which helps plan operations and visualize analyzed data, and Collection, where scouters input it.

Dashboard is implemented in Flutter, and Collection is in React Native. They both connect to a centralized Express.js server which stores data in a PostgreSQL database.

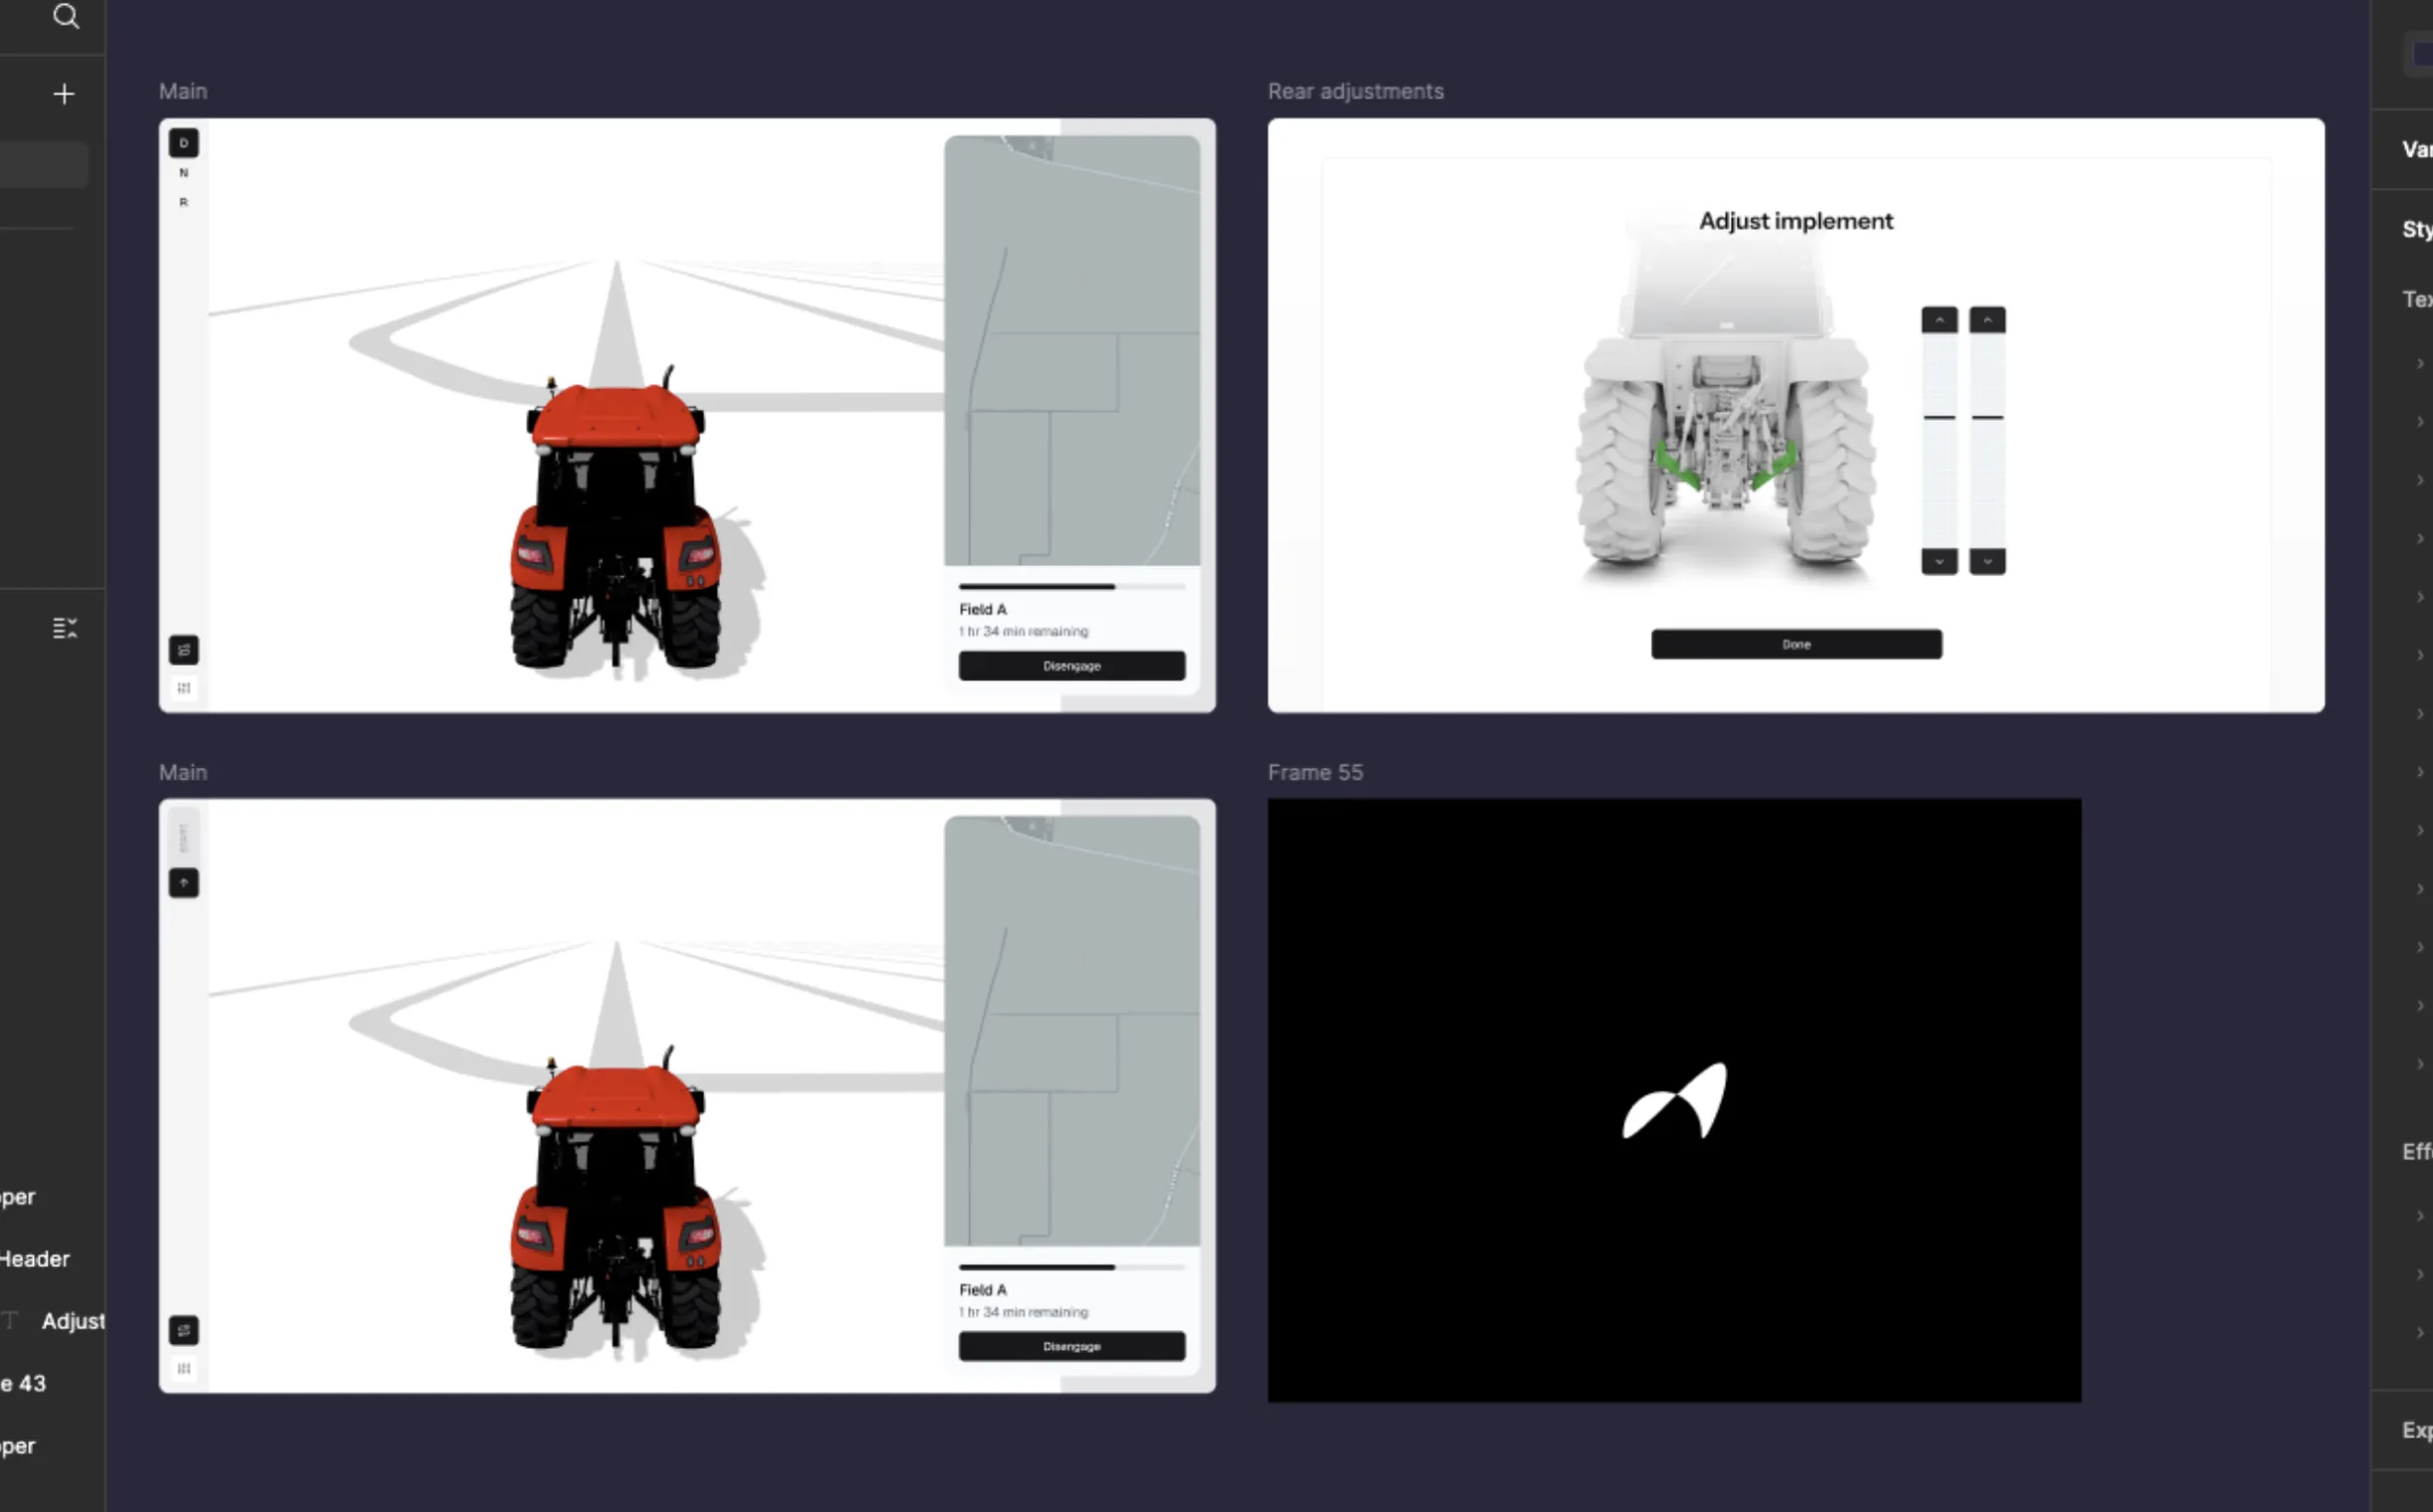
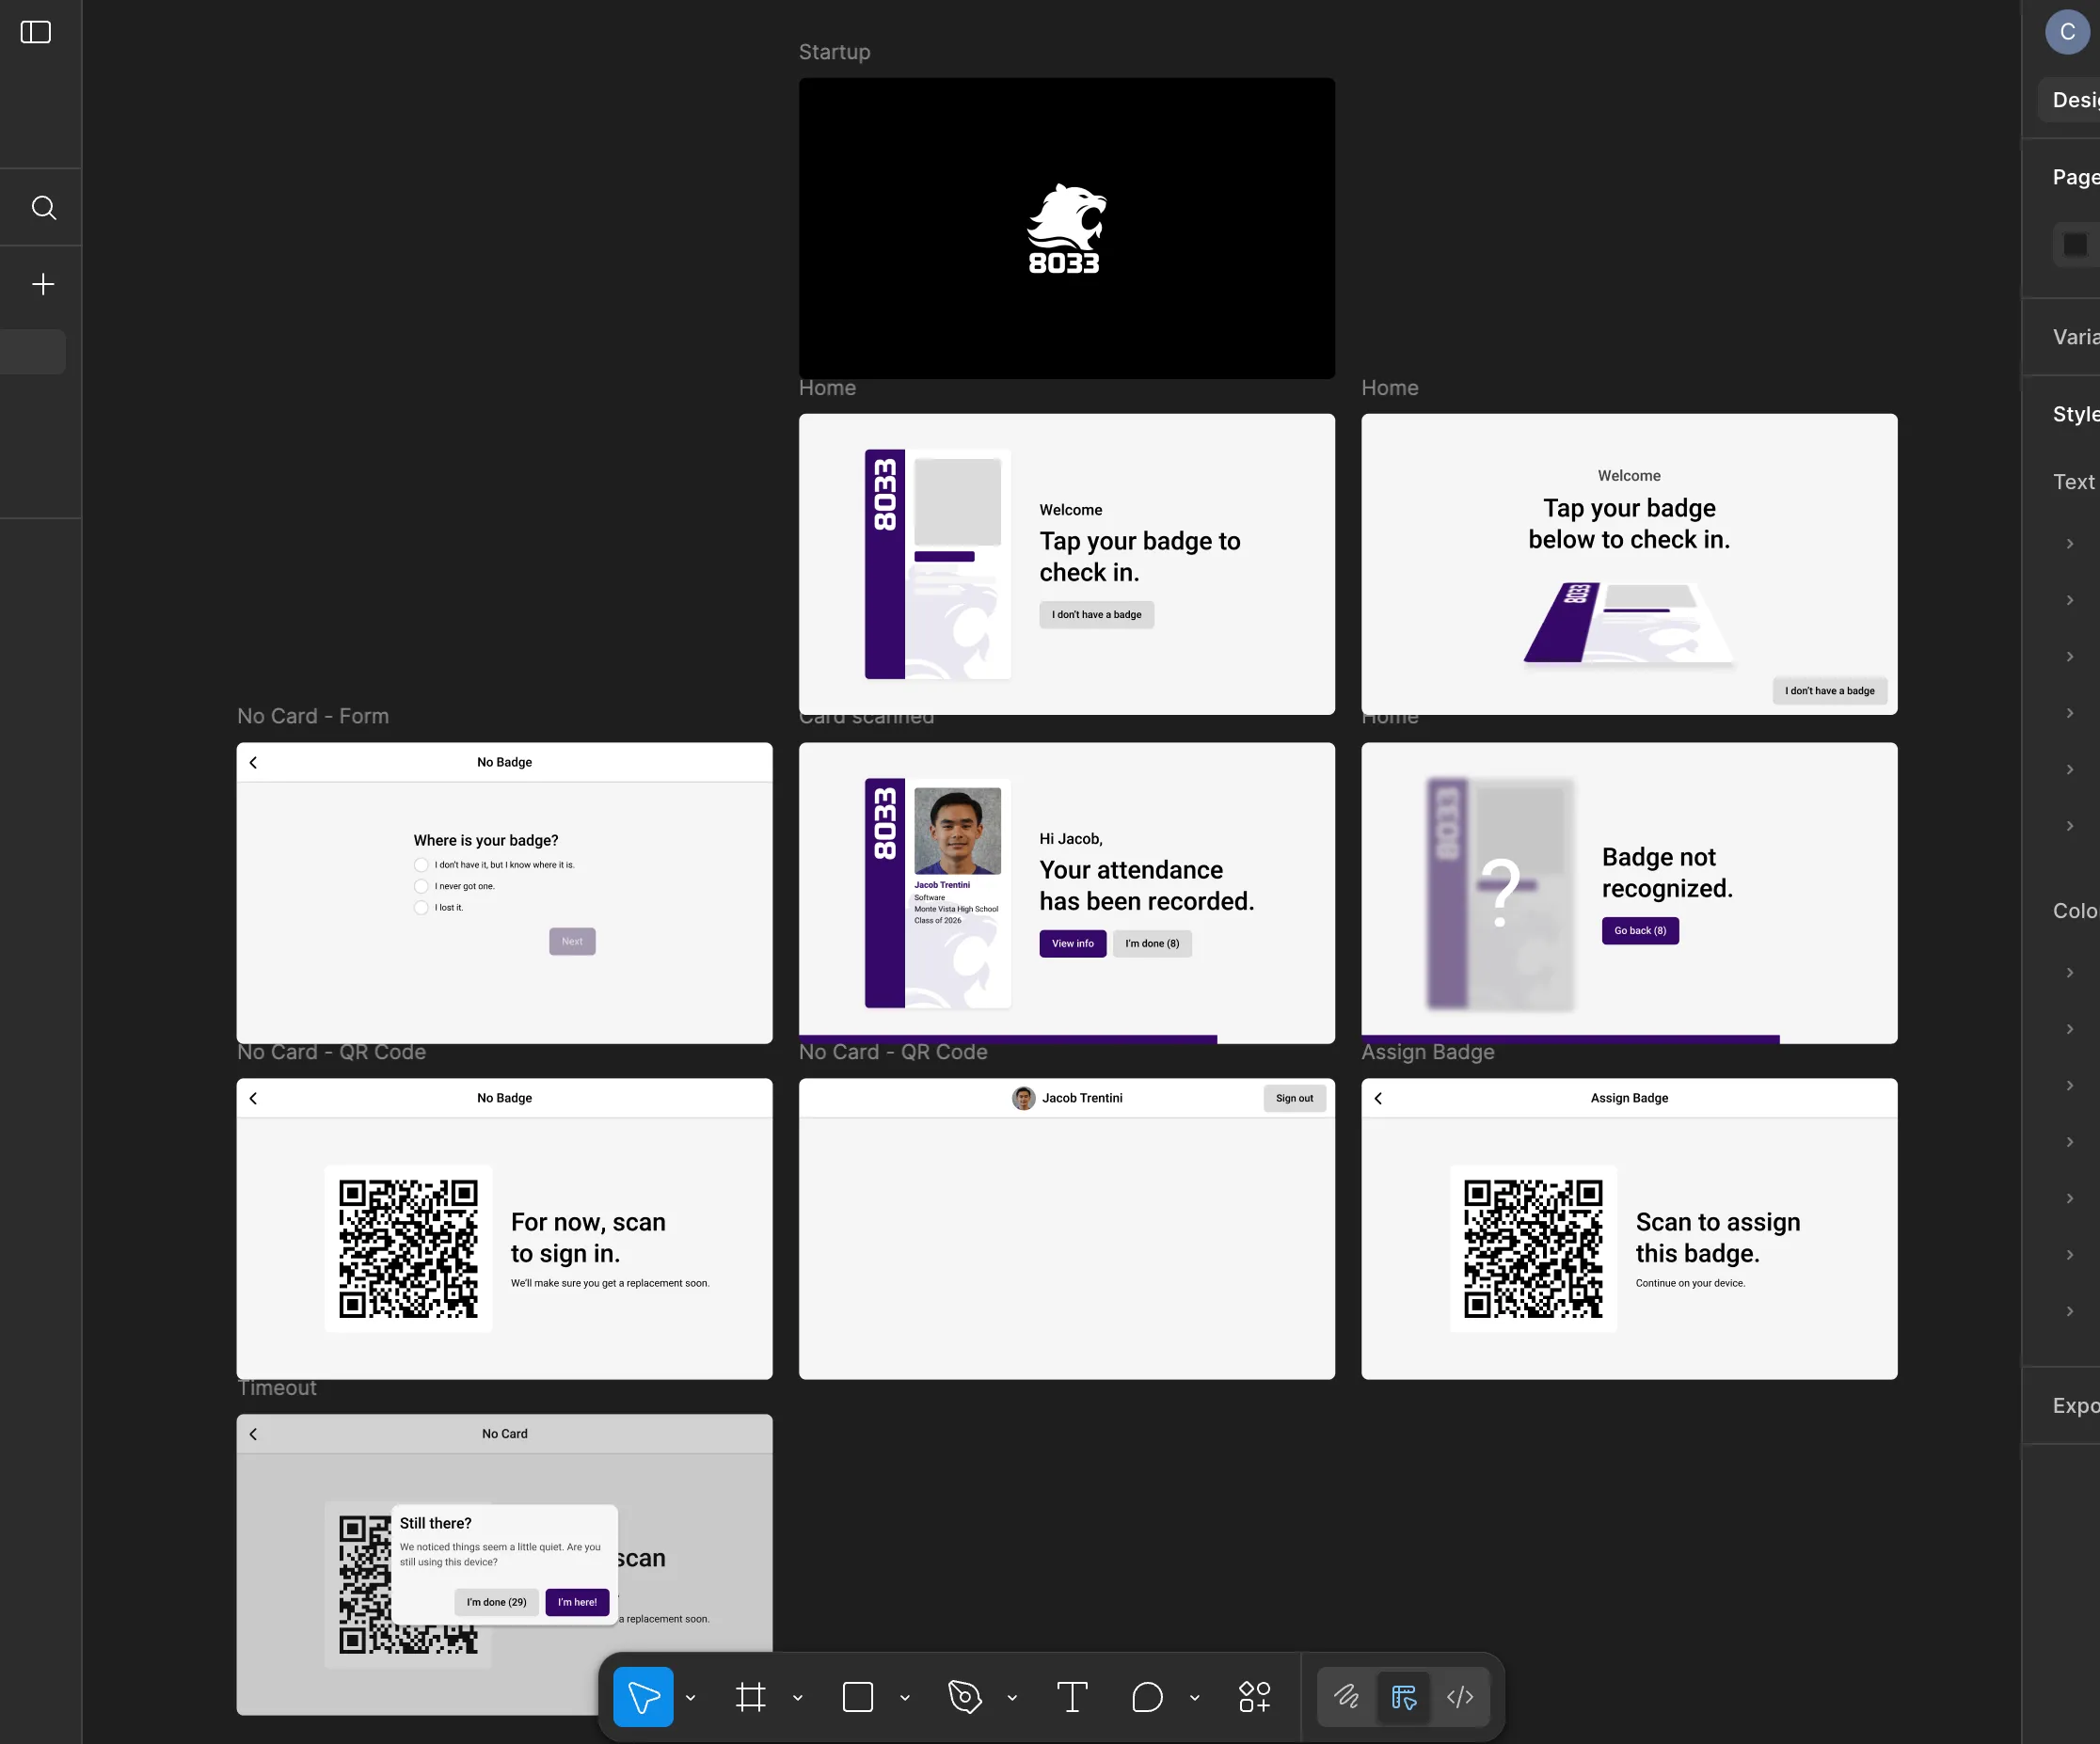
Shown here are screenshots of my original design for the Lovat Dashboard in Figma, along with the published implementation used by over 800 teams at 83% of competitions globally.

Acre Robotics

Last summer, I spent four weeks working at Acre, a seed-stage startup building self-driving tractors. I was tasked with building a touch-screen dashboard interface for the cab. I started in Figma, inspired by designs from Tesla and Waymo.

The interface is implemented as a React Native app running on a tablet. The central view uses @react-three/fiber to display a 3-D visualization of the vehicle’s planned path and obstacles, along with an animated tractor model that I scraped from the manufacturer’s website. The auxiliary view allows the user to choose a field and see progress on a Mapbox display.

Touching and holding the arrow in the upper left turns on the ignition, and dragging it down cranks the engine. If it isn’t able to start, the arrow slides back to its original position. I considered adding haptics, but in practice, the rumble of the tractor’s own engine does the trick.

D/N/R sets the tractor’s drive/neutral/reverse state.

Attendance Kiosk

In 2024, my FRC team implemented a stricter attendance policy, and I built a kiosk to streamline the process. Students can badge in using ID cards or NFC passes, which send a payload to the team’s internal server to mark attendance. The system was needed to handle high-volume entry (over fifty studens could come in ~30 mins) so the UI, designed in Figma, allows scans at any time with no extra interaction. Fanciful animations hide loading states, and additional text appears if server responses are slow, keeping the experience smooth and intuitive.

The hardware includes a Raspberry Pi, a 7-inch touchscreen, and an ID TECH PiP reader capable of reading both Mifare cards and Apple Wallet passes. I implemented the reader’s protocol manually in the ‘scanner’ module, as existing libraries were outdated or too complex.

The enclosure was designed in PTC Onshape, starting with top-down sketches to define space constraints before expanding into a rigid structure to mount all components. I 3D-printed the main body on my Craigslist Ender 3 and laser-cut the back and face plates, achieving a glossy finish by spray-painting the back of transparent acrylic.

DMX to WS281x Lighting Controller

Inspired by the complex lighting effects of professional stage shows, I wanted to control WS281x LED strips from the DMX lighting network in my school’s theater on a limited budget. Off-the-shelf solutions were either too expensive or included features we didn’t need, so I designed my own. At the core is an ESP32 running a modified version of WLED, capable of controlling an arbitrarily large number of pixels through just fifteen DMX channels.

The hardware includes an DC-powered buck converter with a replaceable fuse, and a level shifter to let the ESP’s 3-volt logic drive higher-voltage LED strips.

The first application was an illuminated campfire centerpiece for the school’s 2025 production of The Grown Ups. Using WLED’s matrix mode, I created cylindrically continuous flame animations that changed color and speed to reflect the mood of each scene. My CAD models and Blender pre-visualizations shown on the bottom right helped plan the spatial constraints and communicate the visual design to the directors, ensuring the final installation fit the stage while achieving the desired effect.